| gerbolyze | ||
| gerboweb | ||
| pics | ||
| screenshots | ||
| svg-flatten | ||
| testdata | ||
| upstream | ||
| .gitignore | ||
| .gitmodules | ||
| LICENSE | ||
| MANIFEST.in | ||
| post.html | ||
| README.rst | ||
| setup.py | ||
| TODO | ||

Gerbolyze high-fidelity SVG/PNG/JPG to PCB converter
Gerbolyze renders SVG vector and PNG/JPG raster images into existing gerber PCB manufacturing files. Vector data from SVG files is rendered losslessly without an intermediate rasterization/revectorization step. Still, gerbolyze supports (almost) the full SVG 1.1 spec including complex, self-intersecting paths with holes, patterns, dashes and transformations
Raster images can either be vectorized through contour tracing (like gerbolyze v1.0 did) or they can be embedded using high-resolution grayscale emulation while (mostly) guaranteeing trace/space design rules.

Tooling for PCB art is quite limited in both open source and closed source ecosystems. Something as simple as putting a pretty picture on a PCB can be an extremely tedious task. Depending on the PCB tool used, various arcane incantations may be necessary and even modestly complex images will slow down most PCB tools to a crawl.
Gerbolyze solves this problem in a toolchain-agnostic way by directly vectorizing SVG vector and PNG or JPG bitmap files onto existing gerber layers. Gerbolyze processes any spec-compliant SVG and "gerbolyzes" SVG vector data into a Gerber spec-compliant form. Gerbolyze has been tested against both the leading open-source KiCAD toolchain and the industry-standard Altium Designer. Gerbolyze is written with performance in mind and will happily vectorize tens of thousands of primitives, generating tens of megabytes of gerber code without crapping itself. With gerbolyze you can finally be confident that your PCB fab's toolchain will fall over before yours does if you overdo it with the high-poly anime silkscreen.

Tl;dr: Produce high-quality artistic PCBs in three easy steps!
Gerbolyze works in three steps.
Generate a scale-accurate template of the finished PCB from your CAD tool's gerber output:
$ gerbolyze template --top template_top.svg [--bottom template_bottom.svg] my_gerber_dirLoad the resulting template image Inkscape or another SVG editing program. Put your artwork on the appropriate SVG layer. Dark colors become filled gerber primitives, bright colors become unfilled primitives. You can directly put raster images (PNG/JPG) into this SVG as well, just position and scale them like everything else. SVG clips work for images, too. Masks are not supported.
Vectorize the edited SVG template image drectly into the PCB's gerber files:
$ gerbolyze paste --top template_top_edited.svg [--bottom ...] my_gerber_dir output_gerber_dir
Features
Input on the left, output on the right.

- Almost full SVG 1.1 static spec coverage (!)
- Paths with beziers, self-intersections and holes
- Strokes, even with dashes and markers
- Pattern fills and strokes
- Transformations and nested groups
- Proper text rendering with support for complex text layout (e.g. Arabic)
- <image> elements via either built-in vectorizer or built-in halftone processor
- (some) CSS
- Writes Gerber, SVG or KiCAD S-Expression (
.kicad_mod) formats - Can export from top/bottom SVGs to a whole gerber layer stack at once with filename autodetection
- Can export SVGs to
.kicad_modfiles like svg2mod (but with full SVG support) - Beziers flattening with configurable tolerance using actual math!
- Polygon intersection removal
- Polygon hole removal (!)
- Optionally vector-compositing of output: convert black/white/transparent image to black/transparent image
- Renders SVG templates from input gerbers for accurate and easy scaling and positioning of artwork
- layer masking with offset (e.g. all silk within 1mm of soldermask)
- Can read gerbers from zip files
Gerbolyze is the end-to-end "paste this svg into these gerbers"
command that handles all layers on both board sides at once. The
heavy-duty computer geometry logic of gerbolyze is handled by the
svg-flatten utility (svg-flatten directory). svg-flatten
reads an SVG file and renders it into a variety of output formats.
svg-flatten can be used like a variant of the popular svg2mod that
supports all of SVG and handles arbitrary input
<path> elements.
Algorithm Overview
This is the algorithm gerbolyze uses to process a stack of gerbers.
- Map input files to semantic layers by their filenames
- For each layer:
- load input gerber
- Pass mask layers through
gerbvfor conversion to SVG - Pass mask layers SVG through
svg-flatten --dilate - Pass input SVG through
svg-flatten --only-groups [layer] - Overlay input gerber, mask and input svg
- Write result to output gerber
This is the algorithm svg-flatten uses to process an SVG.
- pass input SVG through usvg
- iterate depth-first through resulting SVG.
- for groups: apply transforms and clip and recurse
- for images: Vectorize using selected vectorizer
- for paths:
- flatten path using Cairo
- remove self-intersections using Clipper
- if stroke is set: process dash, then offset using Clipper
- apply pattern fills
- clip to clip-path
- remove holes using Clipper
- for KiCAD S-Expression export: vector-composite results using CavalierContours: subtract each clear output primitive from all previous dark output primitives
Gerbolyze image vectorization
Gerbolyze has two built-in strategies to translate pixel images into vector images. One is its built-in halftone processor that tries to approximate grayscale. The other is its built-in binary vectorizer that traces contours in black-and-white images. Below are examples for the four options.
The vectorizers can be used in isolation through
svg-flatten with either an SVG input that contains an image
or a PNG/JPG input.
The vectorizer can be controlled globally using the
--vectorizer flag in both gerbolyze and
svg-flatten. It can also be set on a per-image basis in
both using
--vectorizer-map [image svg id]=[option]["," ...].
--vectorizer poisson-disc
(the default)

--vectorizer hex-grid

--vectorizer square-grid

--vectorizer binary-contours

The binary contours vectorizer requires a black-and-white binary input image. As you can see, like every bitmap tracer it will produce some artifacts. For artistic input this is usually not too bad as long as the input data is high-resolution. Antialiased edges in the input image are not only OK, they may even help with an accurate vectorization.
GIMP halftone preprocessing guide
Gerbolyze has its own built-in halftone processor, but you can also
use the high-quality "newsprint" filter built into GIMP instead if you like. This section will
guide you through this. The PNG you get out of this can then be fed into
gerbolyze using --vectorizer binary-contours.
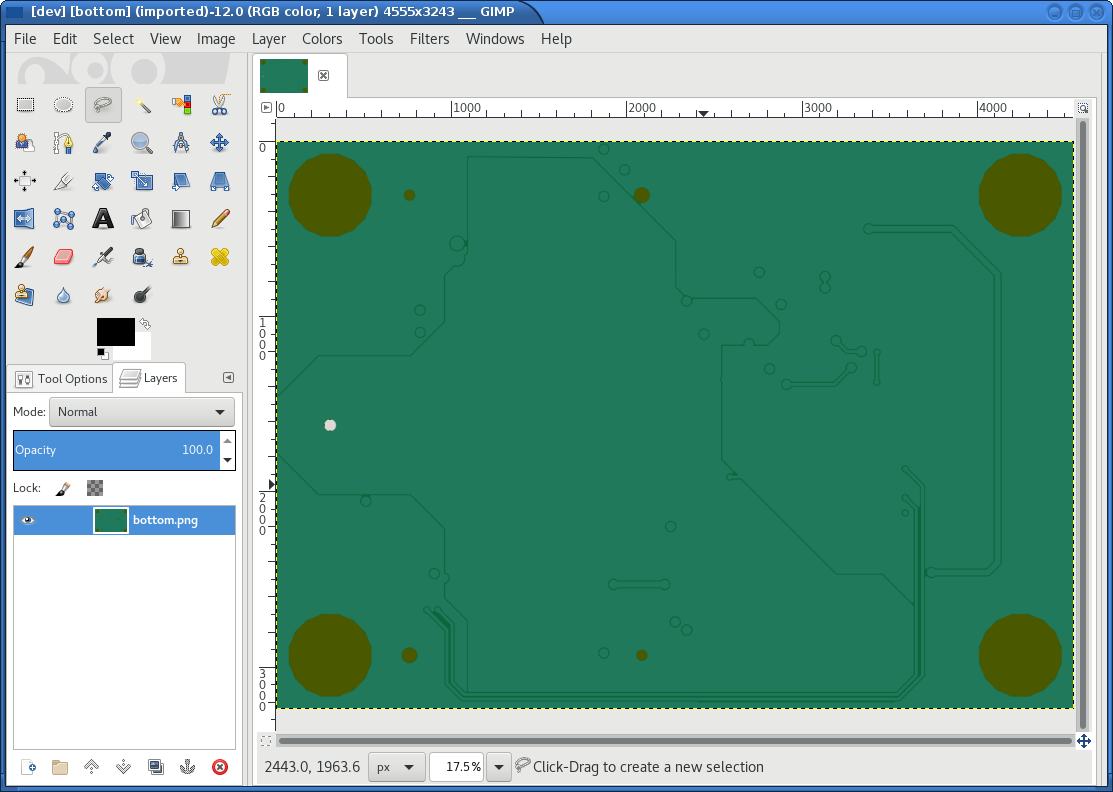
1
Import a render of the board generated using
gerbolyze render
gerbolyze render will automatically scale the render
such that ten pixels in the render correspond to 6mil on the board,
which is about the smallest detail most manufacturers can resolve on the
silkscreen layer. You can control this setting using the
--fab-resolution and --oversampling options.
Refer to gerbolyze --help for details.
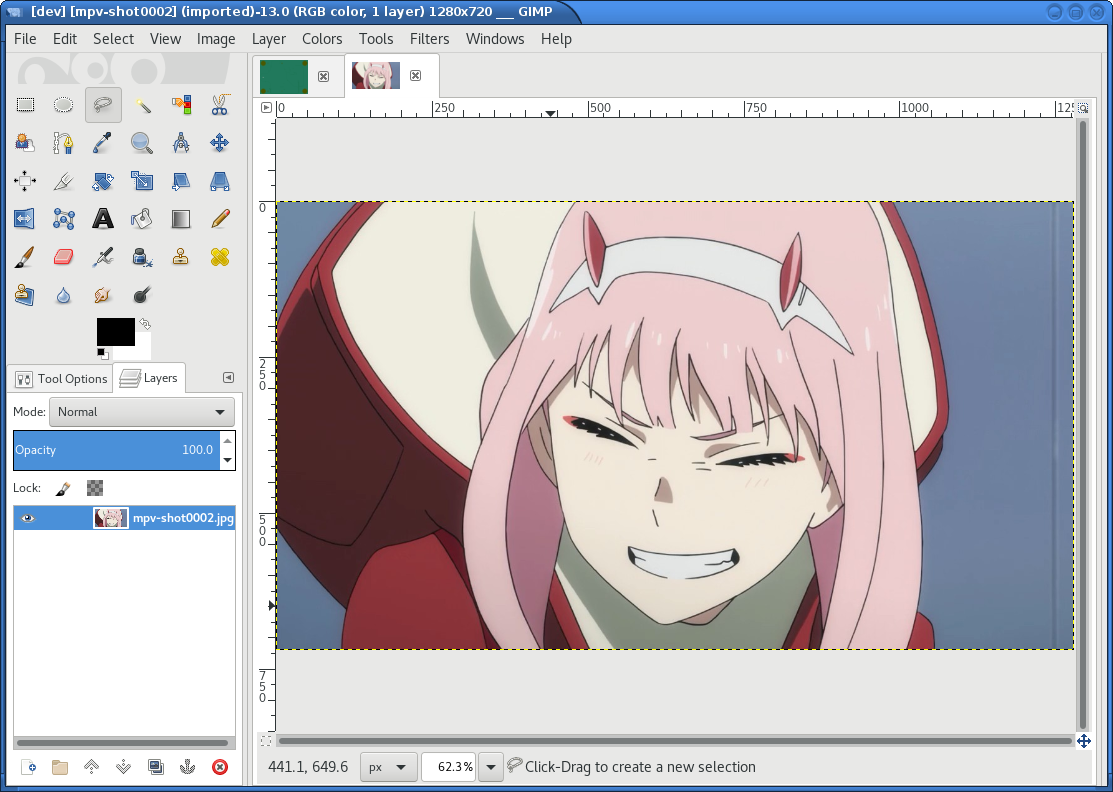
2 Import your desired artwork
Though anime or manga pictures are highly recommended, you can use any image including photographs. Be careful to select a picture with comparatively low detail that remains recognizable at very low resolution. While working on a screen this is hard to vizualize, but the grain resulting from the low resolution of a PCB's silkscreen is quite coarse.
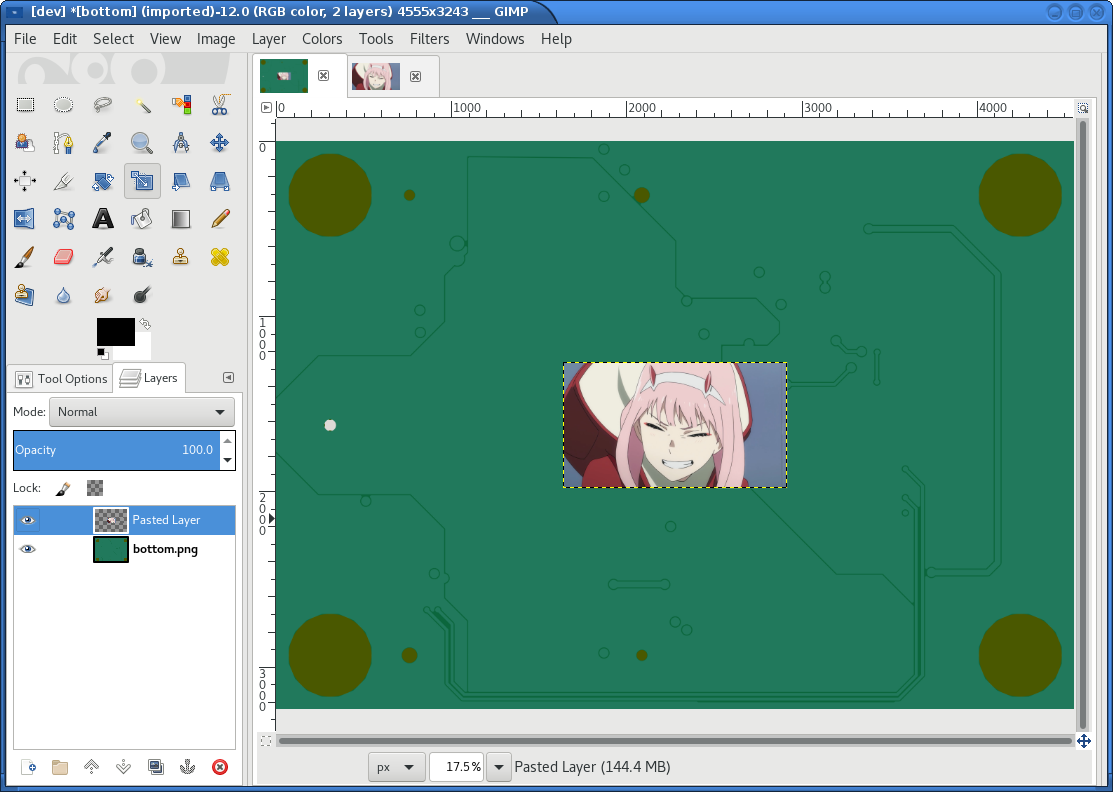
3 Paste the artwork onto the render as a new layer
4 Scale, rotate and position the artwork to the desired size
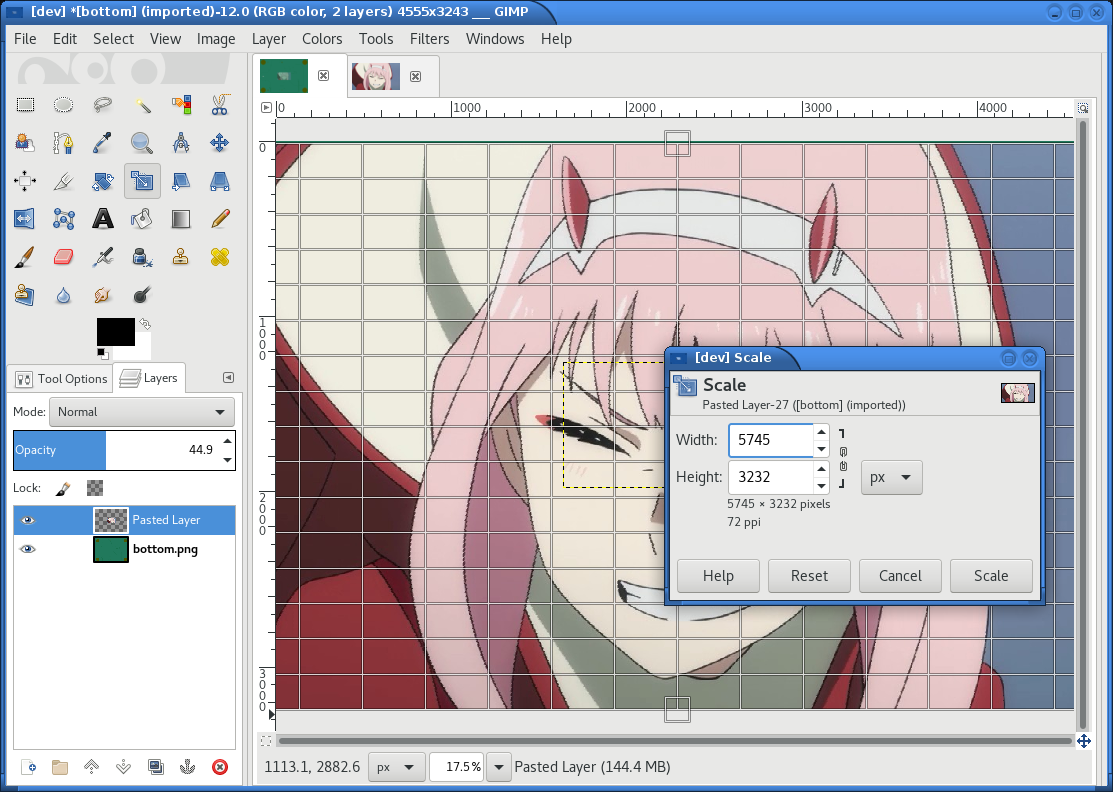
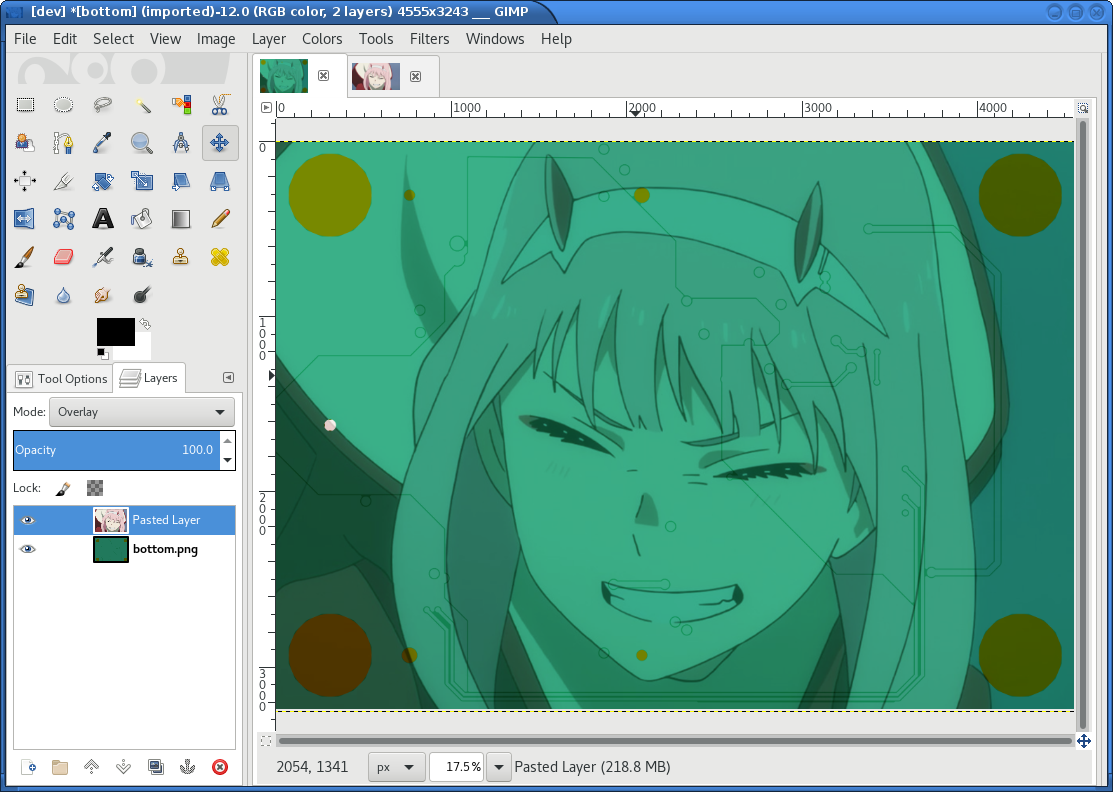
For alignment it may help to set the artwork layer's mode in the
layers dialog to overlay, which makes the PCB render layer
below shine through more. If you can't set the layer's mode, make sure
you have actually made a new layer from the floating selection you get
when pasting one image into another in the GIMP.
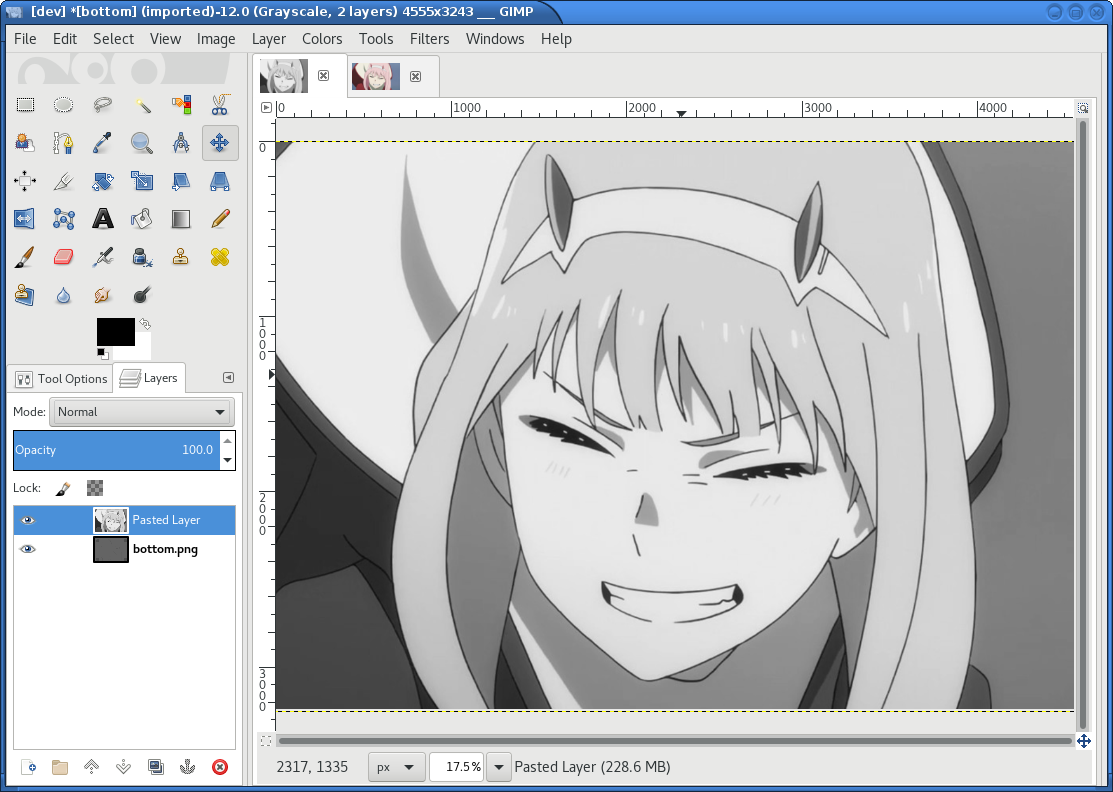
5 Convert the image to grayscale
6 Fine-tune the image's contrast
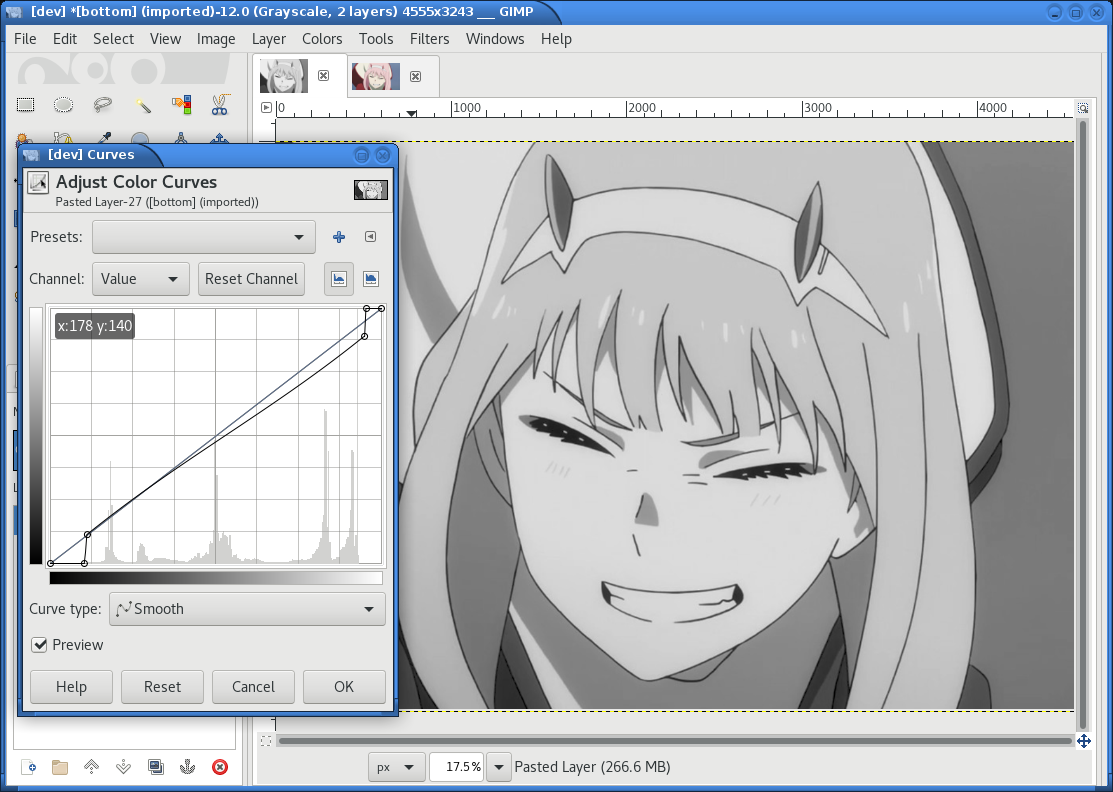
To look well on the PCB, contrast is critical. If your source image is in color, you may have lost some contrast during grayscale conversion. Now is the time to retouch that using the GIMP's color curve tool.
When using the GIMP's newsprint filter, bright grays close to white and dark grays close to black will cause very small dots that might be beyond your PCB manufacturer's maximum resolution. To control this case, add small steps at the ends of the grayscale value curve as shown (exaggerated) in the picture below. These steps saturate very bright grays to white and very dark grays to black while preserving the values in the middle.
7 Retouch details
Therer might be small details that don't look right yet, such as the image's background color or small highlights that merge into the background now. You can manually change the color of any detail now using the GIMP's flood-fill tool.
If you don't want the image's background to show up on the final PCB at all, just make it black.
Particularly on low-resolution source images it may make sense to apply a blur with a radius similar to the following newsprint filter's cell size (10px) to smooth out the dot pattern generated by the newsprint filter.
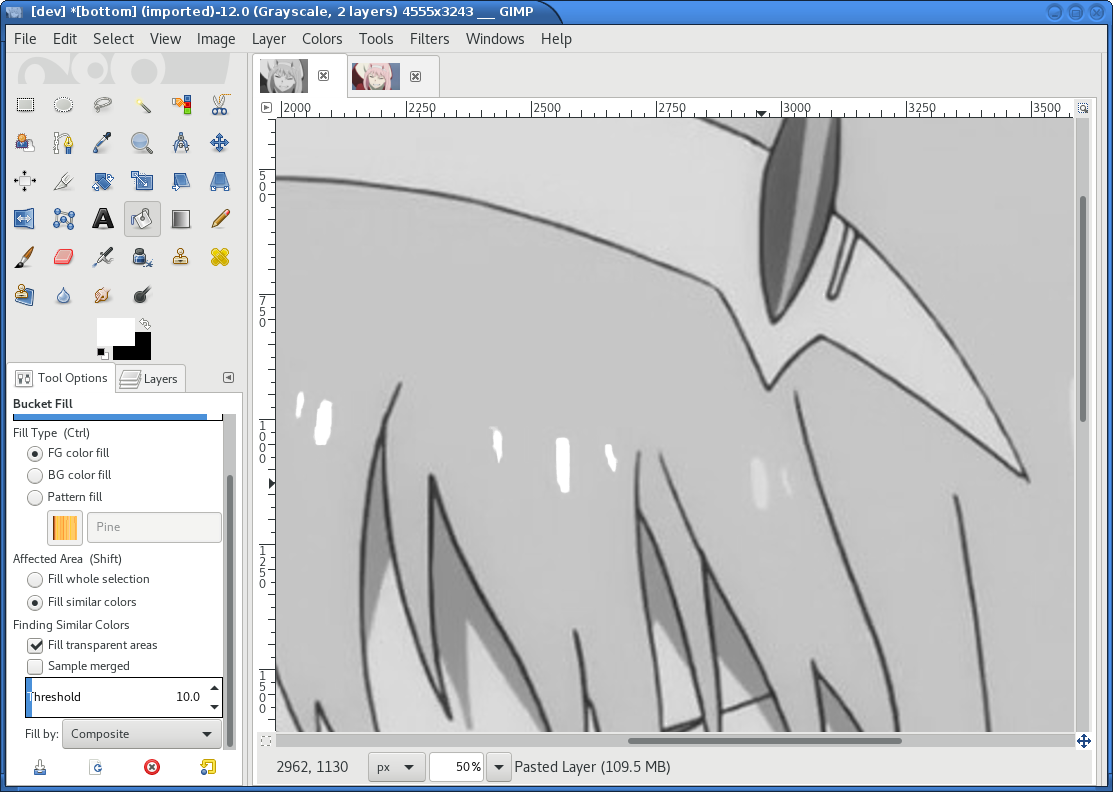
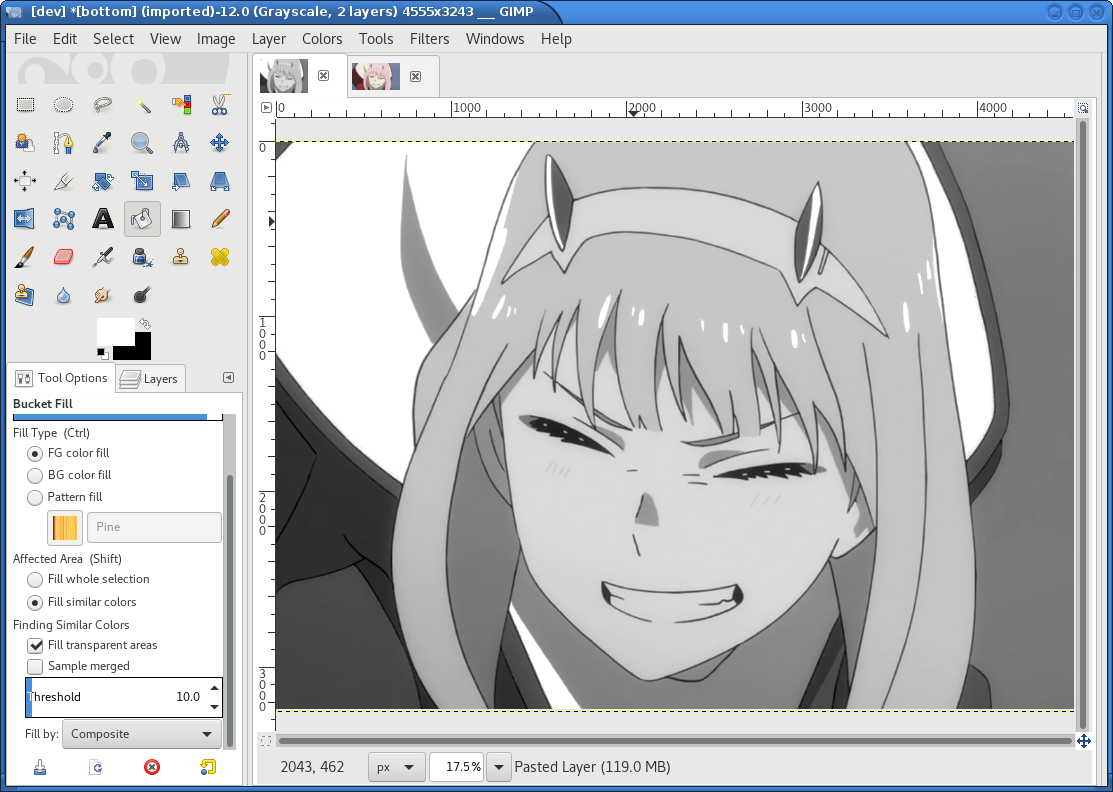
In the following example, I retouched the highlights in the hair of the character in the picture to make them completely white instead of light-gray, so they still stand out nicely in the finished picture.
8 Run the newsprint filter
Now, run the GIMP's newsprint filter, under filters, distorts, newsprint.
The first important settings is the spot size, which should be larger
than your PCB's minimum detail size (about 10px with
gerbolyze render default settings for good-quality
silkscreen). In general the cheap and fast standard option of chinese
PCB houses will require a larger detail size, but when you order
specialty options like large size, 4-layer or non-green color along with
a longer turnaround time you'll get much better-quality silk screen.
The second important setting is oversampling, which should be set to
four or slightly higher. This improves the result of the edge
reconstruction of gerbolyze vectorize.
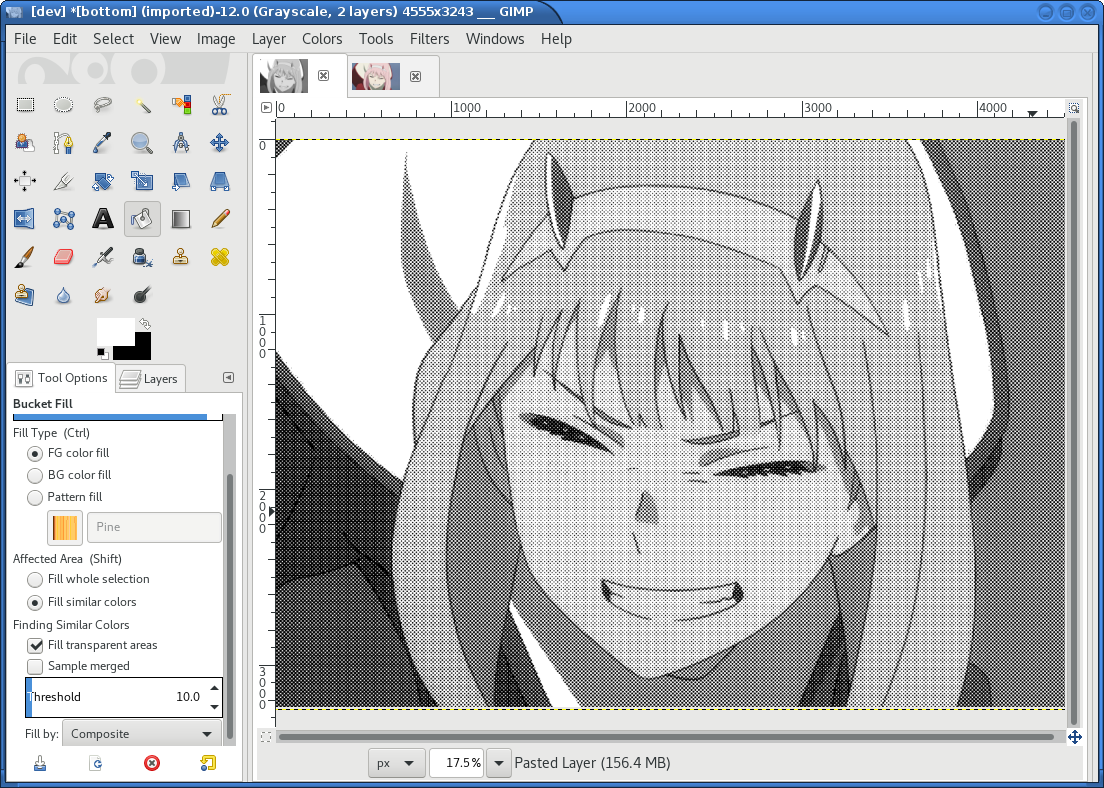
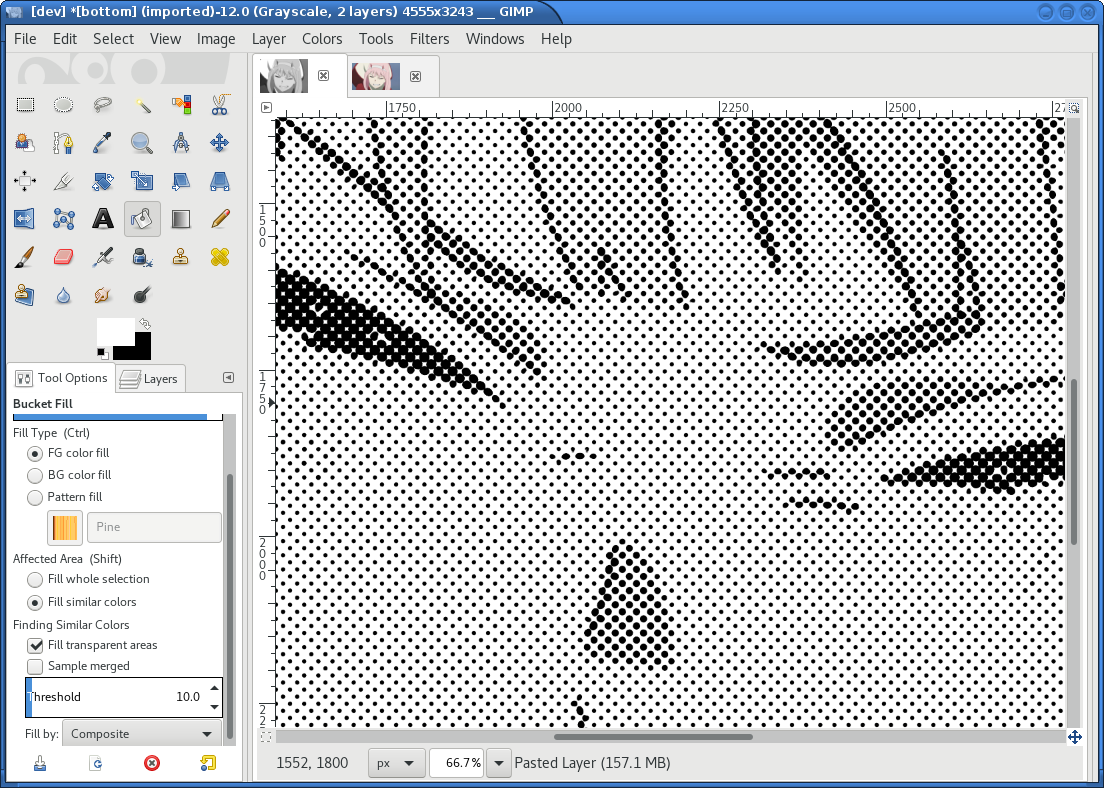
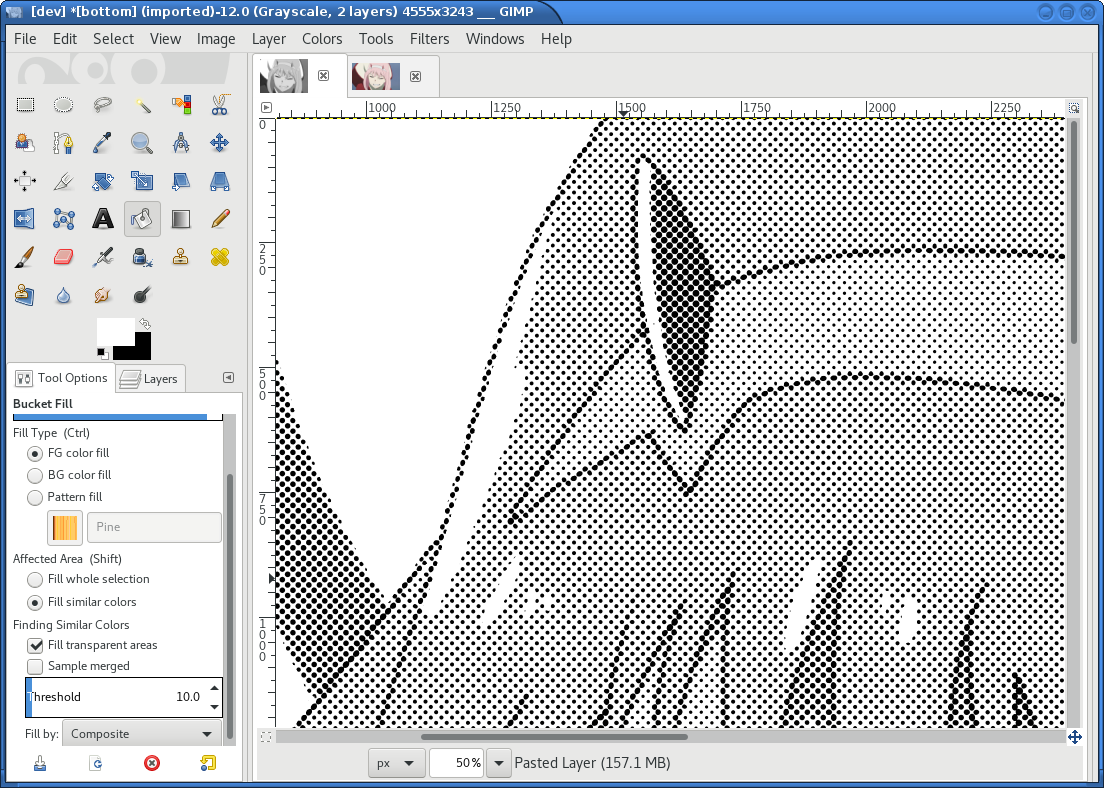
The following are examples on the detail resulting from the newsprint filter.
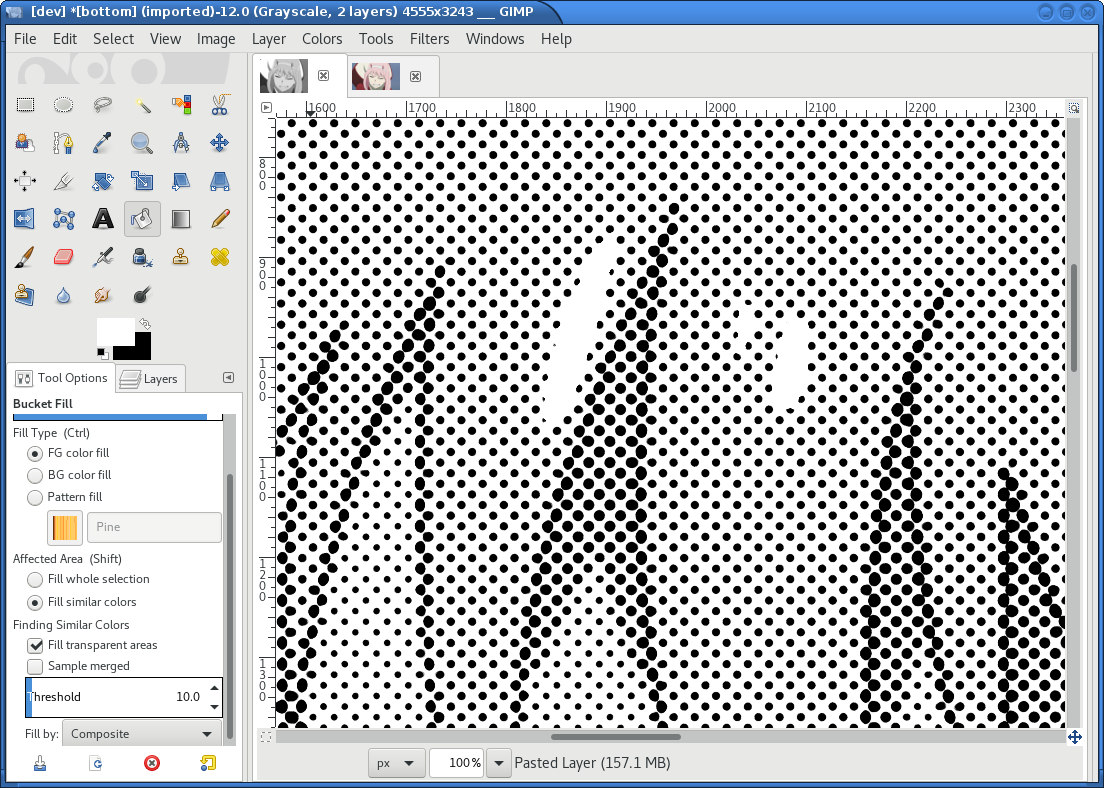
9 Export the
image for use with gerbolyze vectorize
Simply export the image as a PNG file. Below are some pictures of the
output gerbolyze vectorize produced for this example.
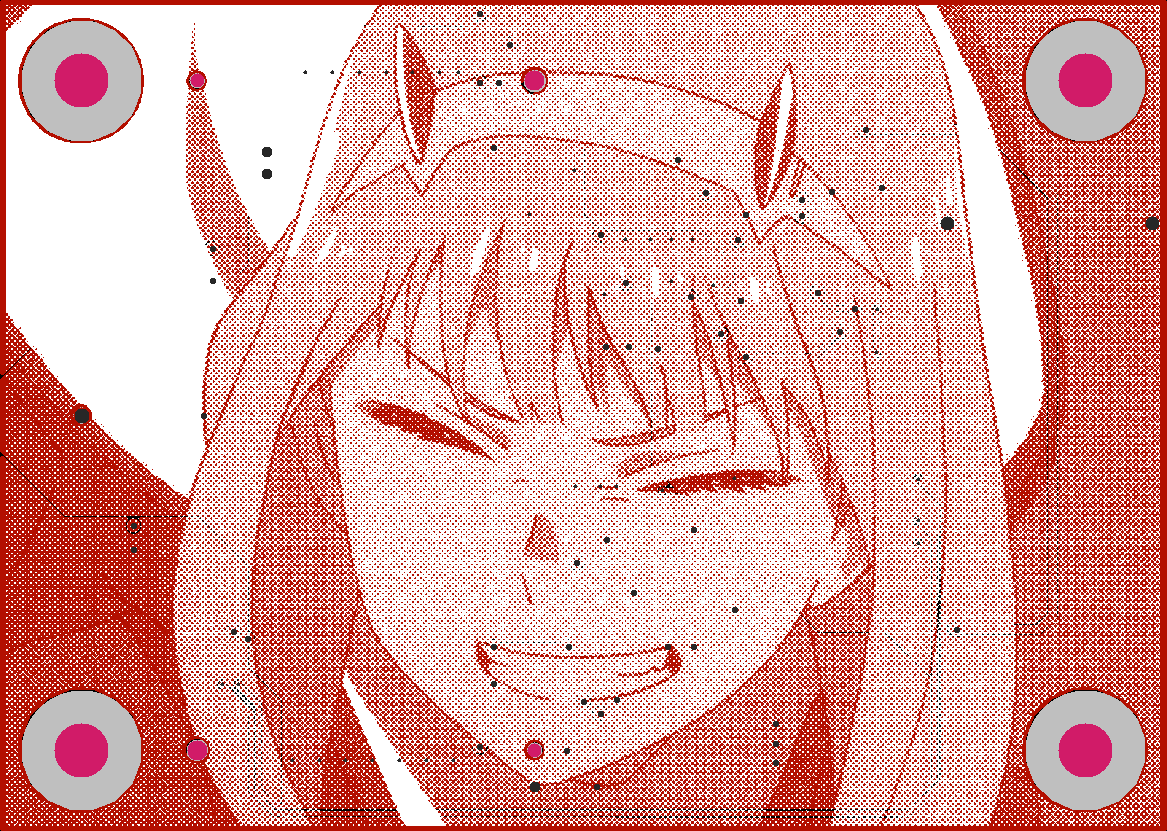
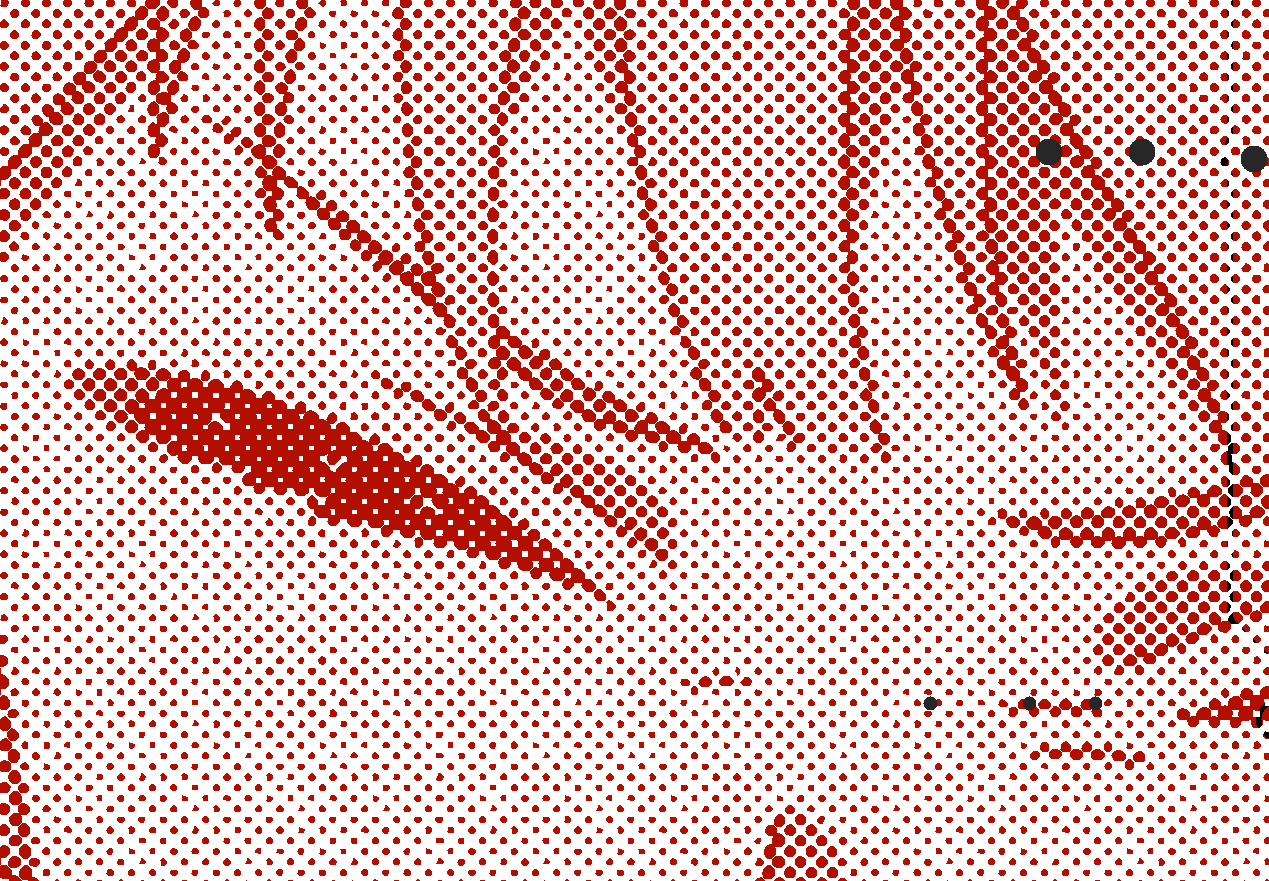
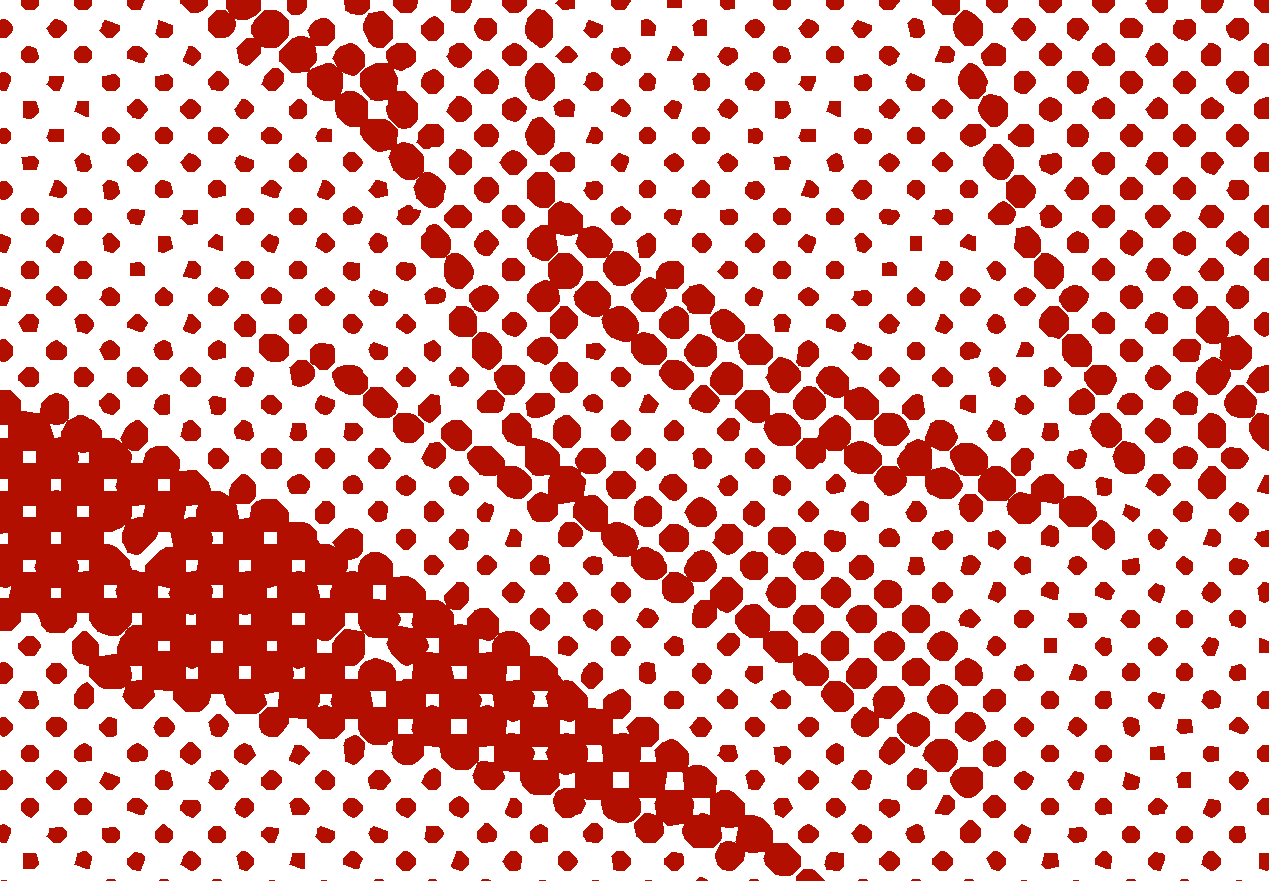
Gallery
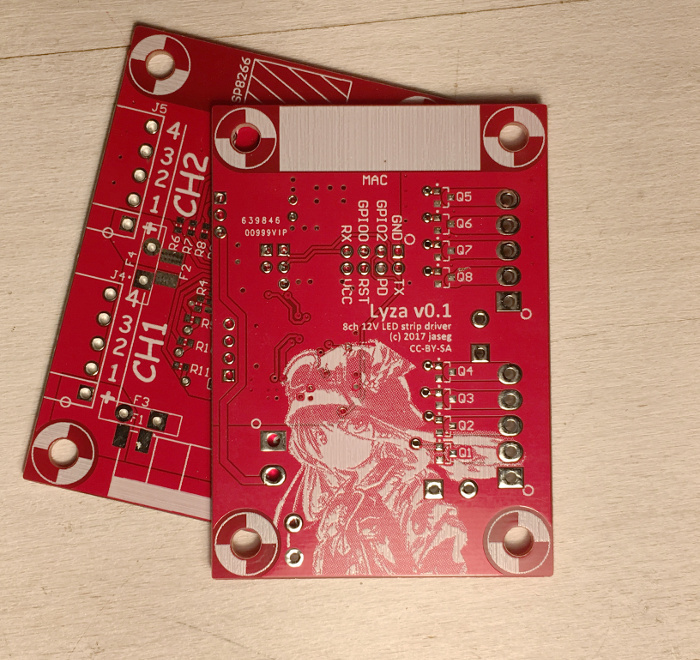
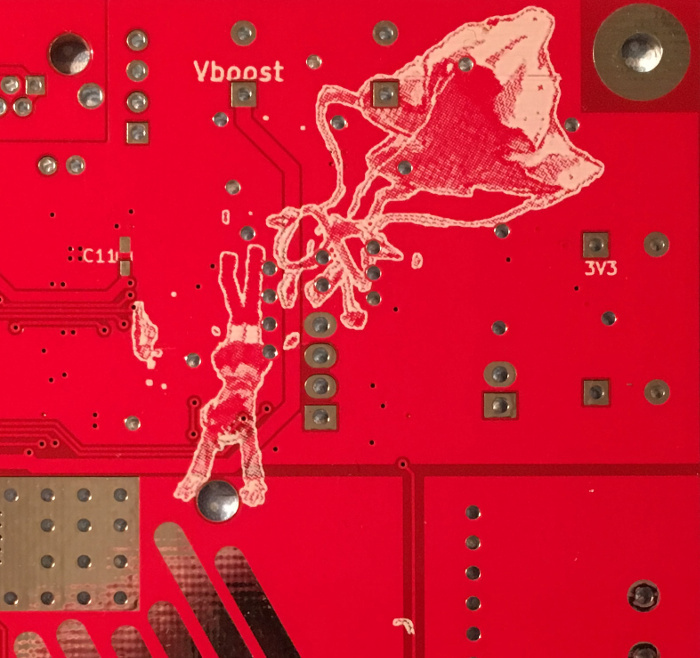
Limitations
SVG raster features
Currently, SVG masks and filters are not supported. Though SVG is marketed as a "vector graphics format", these two features are really raster primitives that all SVG viewers perform at the pixel level after rasterization. Since supporting these would likely not end up looking like what you want, it is not a planned feature. If you need masks or filters, simply export the relevant parts of the SVG as a PNG then include that in your template.
Gerber pass-through
Since gerbolyze has to composite your input gerbers with its own output, it has to fully parse and re-serialize them. gerbolyze uses pcb-tools and pcb-tools-extension for all its gerber parsing needs. Both seem well-written, but likely not free of bugs. This means that in rare cases information may get lost during this round trip. Thus, always check the output files for errors before submitting them to production.
Gerbolyze is provided without any warranty, but still please open an issue or send me an email if you find any errors or inconsistencies.
Licensing
This tool is licensed under the rather radical AGPLv3 license. Briefly, this means that you have to provide users of a webapp using this tool in the backend with this tool's source.
I get that some people have issues with the AGPL. In case this license prevents you from using this software, please send me [an email](mailto:agpl.sucks@jaseg.de) and I can grant you an exception. I want this software to be useful to as many people as possible and I wouldn't want the license to be a hurdle to anyone. OTOH I see a danger of some cheap board house just integrating a fork into their webpage without providing their changes back upstream, and I want to avoid that so the default license is still AGPL.